Monday, October 31, 2011

For Home and Hearth

Every since I started using Pinterest, I have been continuously inspired to create. There are some fantastically creative people out there. And since there really are no "new" ideas, I've been recreating some of my favorite things on there as gifts.


This one is definitely my favorite. I made it for a friend who is getting married in December. I made some fabulous invitations for her. I'll post those for you later. I wanted to make her a keepsake but also something for her new home. The same scrapbook paper I used for her invitations, I used to make this piece of art! I just added the buttons.


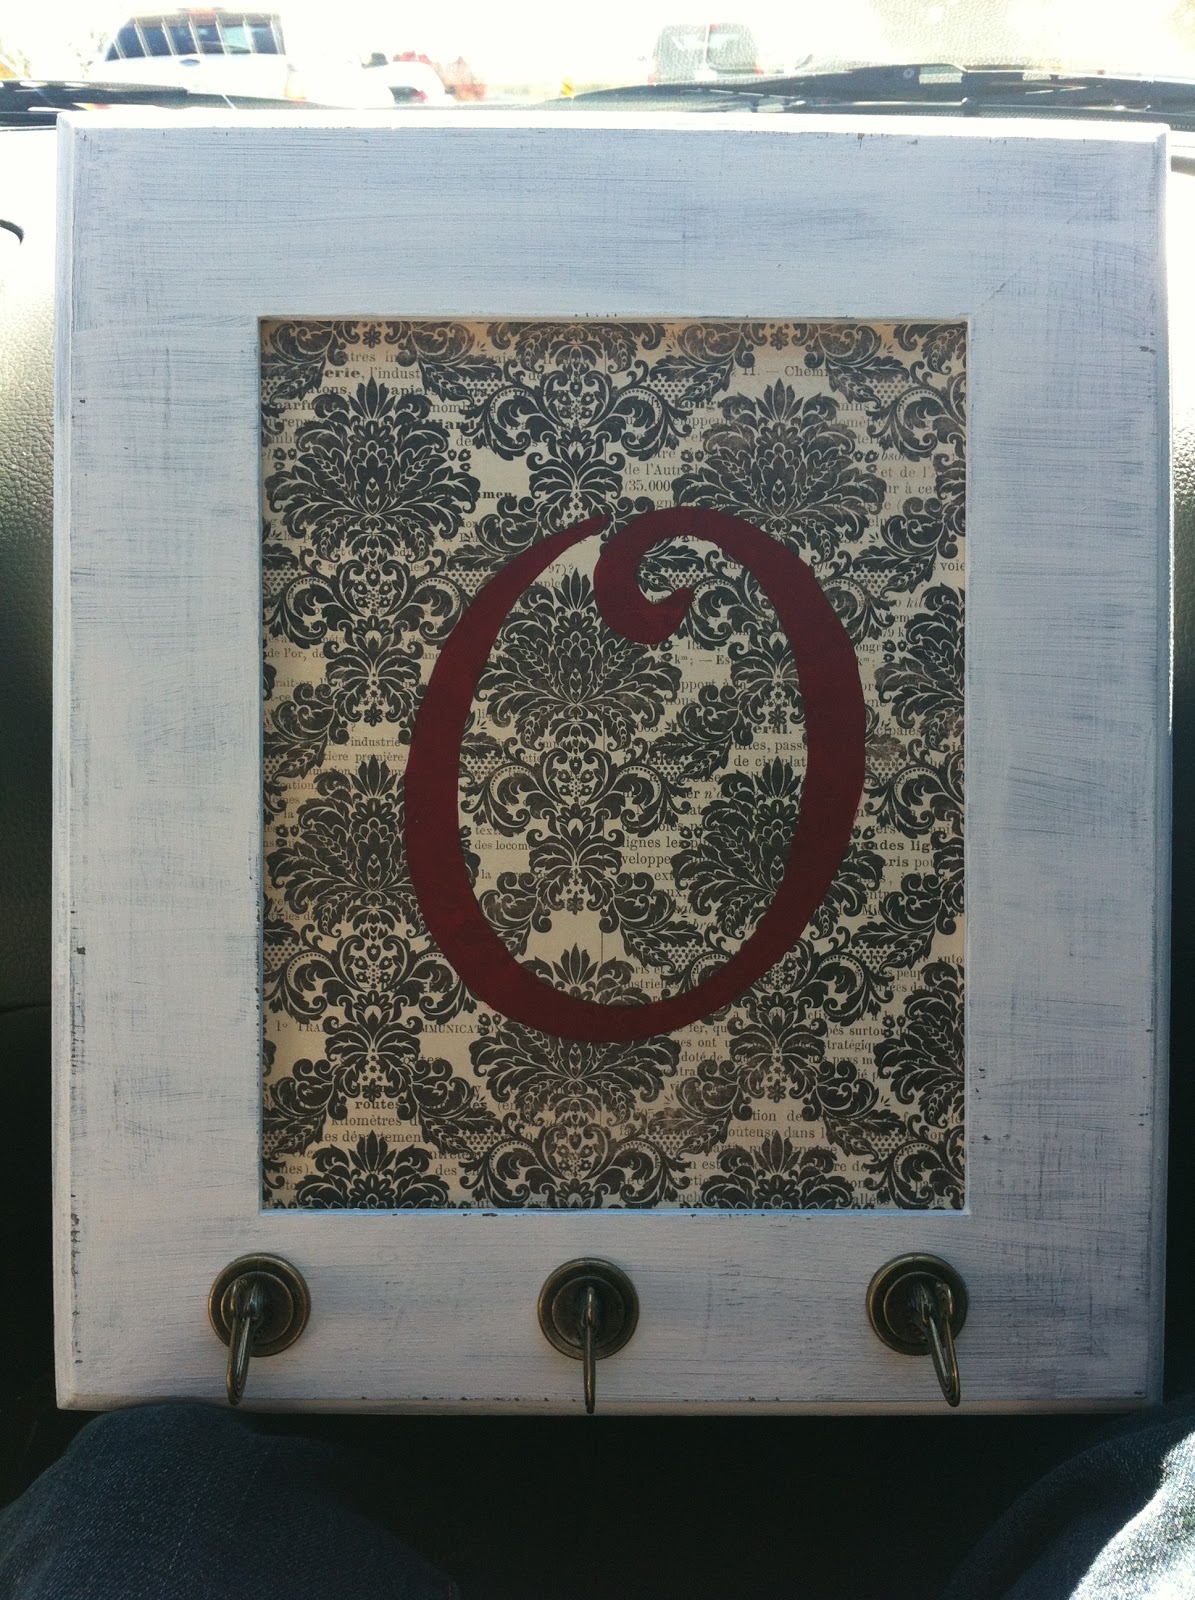
This one I made for my Mom for her birthday. I was pretty impressed with myself on this one. I bought the frame, plain unfinished, the hooks at home depot and painted the letter by hand. I painted the frame grey, let it dry, and then painted it white. The next morning I used sandpaper to scuff it and distress it. I painted the O directly on the scrapbook paper the night before, making sure I didn't s\use too much paint which makes the paper curl.

These gifts were super easy, the frames and scrapbook paper do all the work. I hope you try it out soon!

Ciao!

Friday, October 21, 2011

Fall creations

I love Fall! It's not too hot, not too cold. You get to spend saturdays making chili, watching football, baking apple desserts, driving to the mountains and if you're me making fall creations! I've been bitten by the crafting bug and have been busy creating some fall decor.


This first one is probably my favorite. I wanted a fall wreath for the door and I spotted an adorable creation on etsy that I just had to try for myself. I used a wreath ring, a yard of orange burlap fabric and black and white damask ribbon. I cut the orange burlap into strips about an inch or so wide and 6 inchs long. This took a while and was pretty messy but nothing my vacuum couldn't take care of. I then tied the burlap around the ring alternating between the inside and outside ring. When I got to the end I tied a double bow onto the end. And Viola! a beautiful wreath.


This second project I am pretty proud of because I hand painted the M onto my white pumpkin and dotted the orange pumpkin freehand as well. I know your impressed now too, haha. Both of these pumpkins cost less than $10 to do. The fake white pumpkin I bought on sale at the craft store, I also bought black acrylic and puffy paint. The little real pumpkin I got at the grocery store. It's a cute little pumpkin display for my counter but you could do lots of variations of this for your front porch or dining table.

I hope your enjoying the fall weather.

Ciao!

Friday, October 14, 2011

Southern Centerpieces

I told you guys that a few weeks ago my brother got married. My mom had asked for my help with the rehearsal dinner, which I was thrilled to do! She wanted a southern theme which I loved. We didn't need to do much as mom had rented this beautiful mansion in Loganville called the Yancey House, you guys should definitely check it out. http://www.theyanceyhouse.com/ Maria has done a beautiful job restoring this house and has a great eye for decorating. We used the basement and outdoor garden for the party and it was just beautiful. One of my favorite things was the centerpieces we created.


I found the clothe toile napkins by Waverly on Amazon. They were perfect because no sewing was necessary. We used 3 different sizes of Mason jars and filled them with crushed shells. I loved the sand because it reminded me of pearls which is so very southern. A tealight was placed on top of the sand and lit for a great effect. Finally mom put together some beautiful hydrangea arrangements and we placed them in the center of the mason jars. These we so easy and inexpensive! We did 8 centerpieces for less than $75! They were a great touch to the event and it was a lot of fun collaborating with my mom.

I hope this inspires you to create your own lovely event decor.

Ciao!